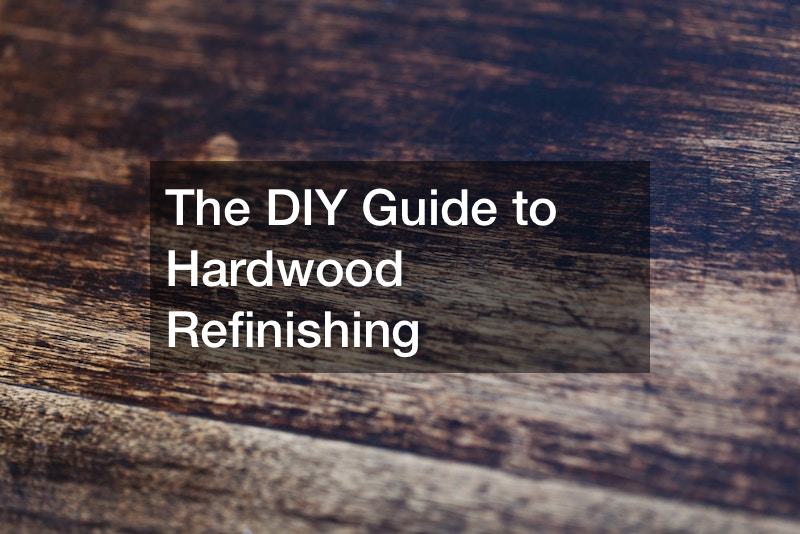
Hardwood refinishing can breathe new life into your home while saving money compared to hiring professionals. You can achieve impressive results with proper tools and some DIY spirit.
Clear the room of furniture and rugs. Inspect the floor for any repairs needed, such as loose boards or nails.
Thoroughly clean the floor, removing dust and debris. Use protective gear like gloves, goggles, and a mask.
Rent a floor sander or hire one if you don’t have experience. Start with coarse-grit sandpaper to remove the old finish and any imperfections.
Progressively switch to finer grits for a smoother surface. Sand in the direction of the grain, being cautious not to sand too aggressively and damage the wood.
You can apply a wood stain evenly using a brush or rag if you want a different floor color. First, test the stain on a small, inconspicuous area to ensure the desired shade. Allow ample drying time before proceeding to the next step.
Apply a clear polyurethane finish using a brush or roller. Follow the manufacturer’s instructions for drying time between coats.
Sand lightly between coats for better adhesion. Aim for at least two to three coats for optimal durability and protection.
Reinstall the baseboards and transition strips once the final coat is completely dry. Wait a few days before placing furniture and rugs back on the floor to prevent damage.
Remember, hardwood refinishing can be time-consuming and labor-intensive. Take breaks when needed and work systematically.
.


