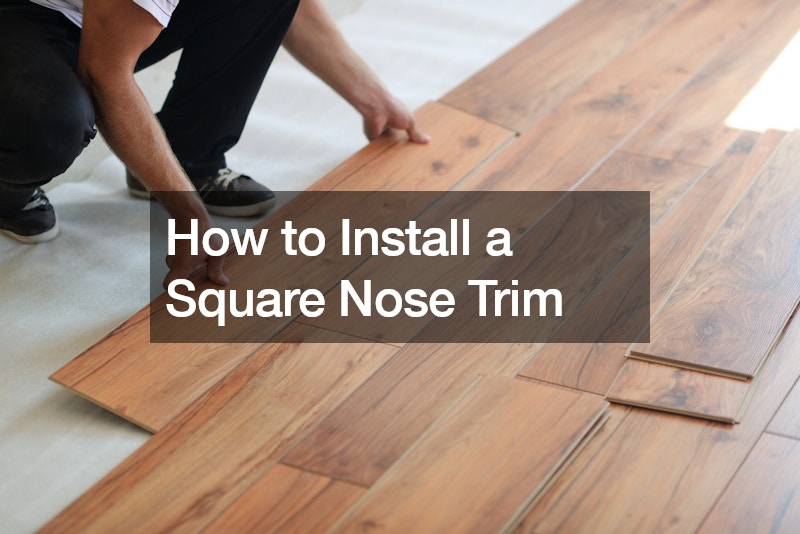
Installing square nose trim is a simple process that adds a finishing touch to stairs or countertops. The key is knowing how to install it properly. The YouTube video offers guidance.
Installation Tips
Begin by cleaning the surface where you want to install the trim. Ensure it’s dry and free of debris.
Measure and cut the trim to the appropriate length using a miter saw or handsaw, ensuring precise cuts for a snug fit.
Apply a thin, even layer of construction adhesive to the back of the square nose trim. Remember to focus on the areas that will come into contact with the surface. Press the trim firmly into place. Ensure it’s aligned and level.
Once the trim is secure, use wood filler or putty to fill any nail holes or gaps between the trim and the surface. Smooth the filler with a putty knife and allow it to dry completely. After the filler is dry, sand the surface of the trim smoothly. Then, flush with the surrounding area. Apply paint or stain to match the surrounding décor and protect the trim from moisture and wear.
Installing trim is a straightforward process. You can complete it with DIY tools and materials. These steps allow you to achieve a professional-looking finish that enhances the appearance and durability of your stairs or countertops.


