
A property works best when the outdoors and the indoors are treated as partners rather than separate projects. The grounds around a house manage rainfall, cast shade, block wind, and either keep pests at a distance or invite them closer. The shell sheds water and protects the framing from weather. Inside, plumbing, heating and cooling equipment, and ductwork maintain comfort and supply. When one area is neglected, the others pay the price. Overgrown canopies drop debris that clogs drainage, poorly graded soil sends water toward the foundation, and damp conditions outside soon become humidity and moisture problems inside.
Keeping the yard healthy, the home dry, and the systems running strong requires steady attention on all three fronts. Thoughtful landscape care improves curb appeal while directing water away from the structure. A watertight shell and clear drainage path protect the framing, insulation, and finishes. Well-maintained mechanical systems deliver efficient comfort without straining under heavy loads. Each improvement supports the others, and together they create a property that looks inviting, stays dry, and runs reliably through every season.
Pruning Crowded Canopies and Clearing Storm-Damaged Limbs

Mature canopies grow denser each year, and without regular attention they begin to create problems for both the landscape and the structure. Crowded crowns catch more wind, increasing the risk of breakage during storms. Dense shade keeps shingles damp and encourages moss, while thinning lawns and struggling shrubs below. Limbs hanging over the house scrape siding and drop leaves and twigs into drainage channels. After storms, cracked or hanging limbs can fall without warning onto shingles, vehicles, or people.
A professional tree service follows ANSI A300 pruning standards, making clean cuts just outside the branch collar so wounds close naturally. Crown thinning removes selected interior limbs, typically no more than about a quarter of the living canopy at once, allowing wind and sunlight to pass through. Branches are cut back to maintain several feet of clearance from the house, and storm-damaged limbs are rigged and lowered rather than dropped. Debris is chipped and removed, leaving a healthier, safer canopy.
Mowing at Proper Heights and Edging Overgrown Borders
Turf that is mowed too short loses its ability to shade the soil, retain moisture, and crowd out weeds. Scalped grass dries out quickly in summer heat, develops shallow roots, and becomes vulnerable to disease and insect damage. Dull mower blades tear rather than cut, leaving ragged tips that brown and invite fungal infections. Along beds, walkways, and driveways, grass creeps into mulch and pavement joints, blurring borders and giving weeds a foothold.
Regular yard maintenance keeps turf at the proper height for its species, typically removing no more than one-third of the blade at each mowing. Sharp blades produce clean cuts that heal quickly, and mowing patterns are varied to prevent ruts and soil compaction. Borders along beds, walkways, and driveways are edged with a half-moon edger or string trimmer to create crisp lines, while clippings are mulched back into the lawn to return nutrients to the soil.
Regrading Foundation Beds and Planting Native Shrubs
Planting beds along the foundation often do more harm than good. Over the years, mulch and soil build up against siding, burying weep screeds and creating a sheltered pathway for insects into wall cavities. Beds that slope toward the house funnel rainwater against the foundation, saturating crawlspaces and basements. Thirsty, non-native shrubs planted too close to the walls require heavy irrigation, trap moisture against the structure, and grow into siding and windows.
Thoughtful landscaping begins with regrading beds so the soil slopes away from the foundation at about six inches over the first ten feet, keeping mulch several inches below siding. Native shrubs and perennials adapted to local soil and rainfall are selected and spaced at least a few feet from the walls to allow airflow and maintenance access. Drip irrigation delivers water directly to roots, while downspouts are connected to buried pipes or dry creek beds that carry runoff safely away from the house.
Balancing Uneven Airflow and Sealing Leaky Duct Joints

Rooms that never feel right usually point to problems with air distribution rather than equipment capacity. Bedrooms at the end of long duct runs receive too little air, while rooms near the air handler overcool or overheat. Joints held together with aging cloth tape separate over time, and disconnected runs in attics and crawlspaces dump conditioned air into unconditioned spaces. Leaky return ducts pull in dusty, humid air, reducing indoor air quality and increasing the load on the system.
A knowledgeable local hvac contractor begins with airflow measurements at each register and a duct leakage test to identify where air is being lost. Joints, seams, and boot connections are sealed with water-based mastic or UL-181 foil tape, disconnected runs are reattached with mechanical fasteners, and crushed flex duct is straightened and supported. Balancing dampers are adjusted to direct airflow where it is needed, attic ducts are insulated, and final measurements confirm even comfort throughout the home.
Retiring Aging Condensers and Sizing Efficient New Systems
Cooling equipment that has reached fifteen years or more often operates far below current efficiency standards. Compressors lose capacity, coils corrode and leak, and electrical components fail more frequently. Many older units also use refrigerants that have been phased out, making repairs increasingly expensive. Replacing an old unit with a new one of the same size can repeat past mistakes, especially if the home has since received new windows, insulation, or air sealing.
A well-planned ac replacement starts with a Manual J load calculation that reflects the home’s current insulation, window performance, air leakage, and orientation. New equipment is sized to match that load, often with variable-speed or two-stage compressors that run longer, quieter cycles and remove more humidity. The outdoor condenser and indoor coil are installed as an AHRI-matched pair, line sets are flushed or replaced, and brazing is completed under a nitrogen purge. A deep vacuum and weighed-in charge ensure the system delivers its rated efficiency.
Compacting Aggregate Bases and Laying Interlocking Pavers
Outdoor living surfaces fail when their foundations are rushed. Pavers set over thin or poorly compacted bases settle into ruts and dips, joints open, and weeds and ants move into the gaps. Water collects in low spots or flows toward the house, and freeze-thaw cycles heave individual units out of alignment. Surfaces laid without edge restraints spread outward over time, leaving loose borders and tripping hazards.
An experienced local patio contractor excavates to the required depth, installs geotextile fabric to separate the subgrade from the base, and spreads crushed aggregate compacted in lifts with a plate compactor. A screeded layer of coarse sand provides a smooth bedding surface, and interlocking pavers are laid in patterns that distribute loads evenly. Edge restraints lock the field in place, polymeric sand stabilizes the joints, and the entire surface is pitched away from the house to shed water. A final pass with the plate compactor seats each unit firmly, and a penetrating sealer can be applied to resist stains and fading.
Replacing Worn Shingles and Installing Ice Barrier Membranes
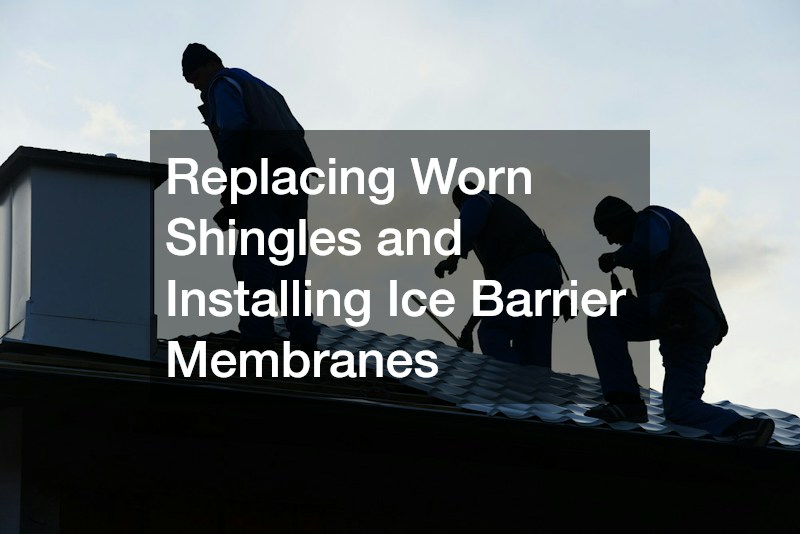
Shingles near the end of their service life curl, crack, and lose granules, exposing the mat to ultraviolet damage and allowing water to reach the underlayment. In colder climates, ice dams form along the eaves when warm attic air melts snow on the upper slope and the water refreezes at the colder edges. Water backs up behind the ice, works beneath shingles, and leaks through the decking into soffits, walls, and ceilings.
A qualified roofing contractor removes worn shingles and underlayment down to the deck, replacing soft or delaminated sheathing. Self-adhered ice barrier membrane is applied along the eaves, extending at least 24 inches inside the exterior wall line, and in valleys and around penetrations. Synthetic underlayment covers the rest of the deck, followed by new drip edge, flashing, and architectural shingles fastened to manufacturer specifications. Balanced soffit and ridge ventilation, along with attic air sealing, helps prevent future ice dams. A final inspection of flashing at walls, chimneys, and vents confirms the new system is watertight from eave to ridge.
Relocating Swarming Colonies and Sealing Wall Cavities
Swarms of Apis mellifera sometimes settle inside wall cavities, soffits, attics, and chimneys, where they quickly build wax comb and store honey. An established colony can contain tens of thousands of insects and many pounds of honey and wax. Spraying or sealing the colony inside the wall can cause honey to melt and seep through drywall, attract other insects and rodents, and leave decaying comb that produces odors and stains.
Responsible bee hive removal begins with locating the colony using thermal imaging and identifying the species, since these insects are valued pollinators that should be relocated whenever possible. Specialists open the wall or soffit, carefully remove the comb, and transfer the colony to a ventilated box for relocation to an apiary. All honey and wax are removed, the cavity is cleaned and treated to eliminate attractant odors, and the opening is repaired. Gaps are sealed to prevent future swarms from moving in. Removing every trace of comb also prevents wax moths, ants, and rodents from being drawn into the empty cavity later.
Tracing Slab Leaks and Replacing Corroded Shutoff Valves
Supply lines running beneath concrete slabs can leak for months before anyone notices. Copper pipes corrode from aggressive water or abrade against concrete as the slab shifts, developing pinhole leaks that saturate the soil beneath the foundation. Warning signs include unexplained increases in water bills, the sound of running water when fixtures are off, warm spots on floors, and cracked tile. Meanwhile, older multi-turn shutoff valves under sinks and toilets corrode and seize, leaving homeowners unable to stop water during an emergency.
Experienced plumbers trace slab leaks with acoustic listening equipment, thermal imaging, and pressure tests that pinpoint the failure without unnecessary demolition. Instead of breaking through the slab, failed lines are often rerouted through walls or the attic using PEX tubing with expansion fittings. Corroded shutoff valves are replaced with quarter-turn ball valves and braided stainless steel connectors, and the main shutoff is upgraded where needed. Installing a pressure-reducing valve and a smart leak detector with automatic shutoff adds another layer of protection against future damage. A pressure test confirms the system is sound before finishes are restored.
Flushing Clogged Troughs and Clearing Packed Downspouts
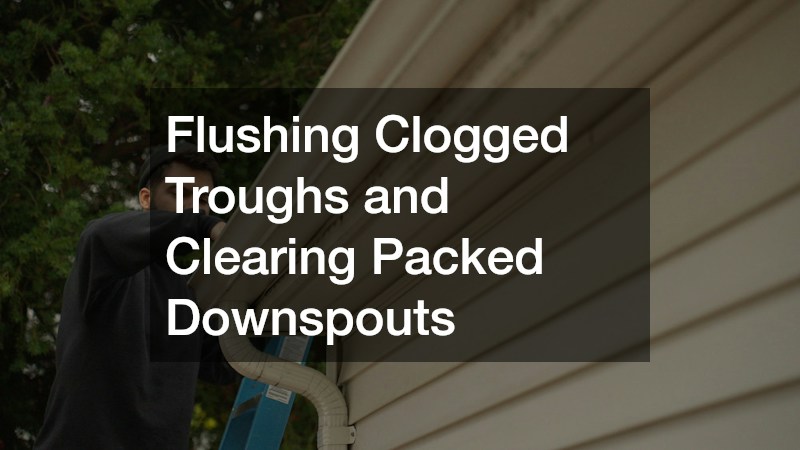
Leaves, pine needles, seed pods, and shingle granules collect in the channels along the eaves, forming wet mats that block outlets and hold standing water. When downspouts clog, water overflows the edge and pours down siding, saturating the soil along the foundation and eroding beds. The added weight of water and debris pulls hangers loose, and trapped moisture rots fascia boards and attracts mosquitoes and nesting insects.
A reliable gutter cleaning company removes debris from every run by hand or with vacuum equipment, then flushes the channels and downspouts with water to confirm free flow. Packed downspouts are cleared with a plumbing snake or water jet, and underground drain lines are tested for blockages. Technicians check hangers and pitch, reseal leaking seams and end caps, and recommend guards where heavy leaf fall is a recurring issue. Scheduling cleanings in late spring and late fall keeps water moving through the busiest seasons.
A healthy yard, a dry home, and well-running systems depend on one another. Pruned canopies and well-kept turf reduce debris and improve sunlight and airflow. Properly graded beds and clear drainage channels carry water away from the foundation, while sound shingles and ice barriers keep the shell watertight. Inside, balanced airflow, efficient cooling, and reliable plumbing keep the household comfortable and protected. When any of these elements is neglected, the others feel the strain.
The most effective approach combines regular upkeep with timely upgrades. Seasonal pruning, consistent mowing and edging, twice-yearly drainage cleanings, annual mechanical service, and periodic inspections of the shingles and plumbing catch problems while they are still small. Investing in efficient equipment, durable outdoor surfaces, and native plantings reduces future maintenance and lowers operating costs.
The reward is a property that looks great from the curb, stays dry from foundation to ridge, and keeps every system running smoothly. Outdoor spaces invite use, indoor comfort remains steady, and the home holds its value for years to come. With steady care inside and out, homeowners enjoy a property that truly thrives.